Set up your camera / smartphone correctly for the Virtual Bike Fit Process
Getting your bike set up correctly on the trainer is essential for an accurate virtual bike fit. In this guide, we’ll walk you through the key steps to ensure your setup is stable, aligned, and ready for assessment. Follow these instructions to get the most out of your fit and make sure we can analyze your position effectively.
Let’s get started!
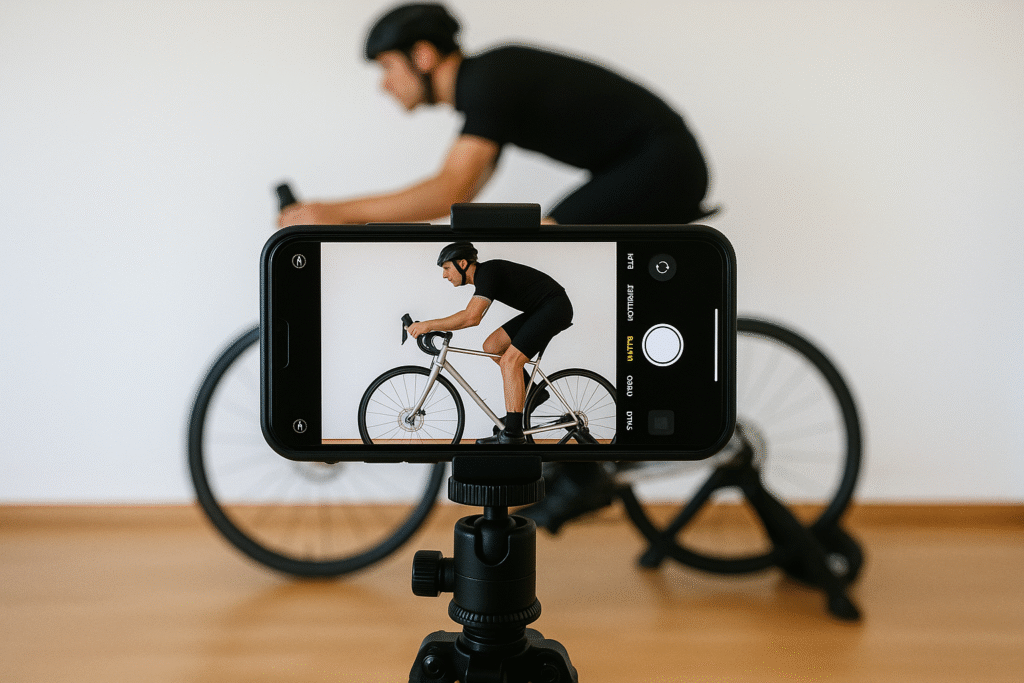
STEP #1 - Choose the Right Camera
A smartphone, tablet, or webcam will work well, as long as it has good resolution and can record smooth video. Ideally, use a stable mount or tripod to prevent shaky footage. If using a phone, ensure it’s set to the highest possible resolution. Good lighting is also key—try to position your setup in a well-lit area or use additional lighting if needed.
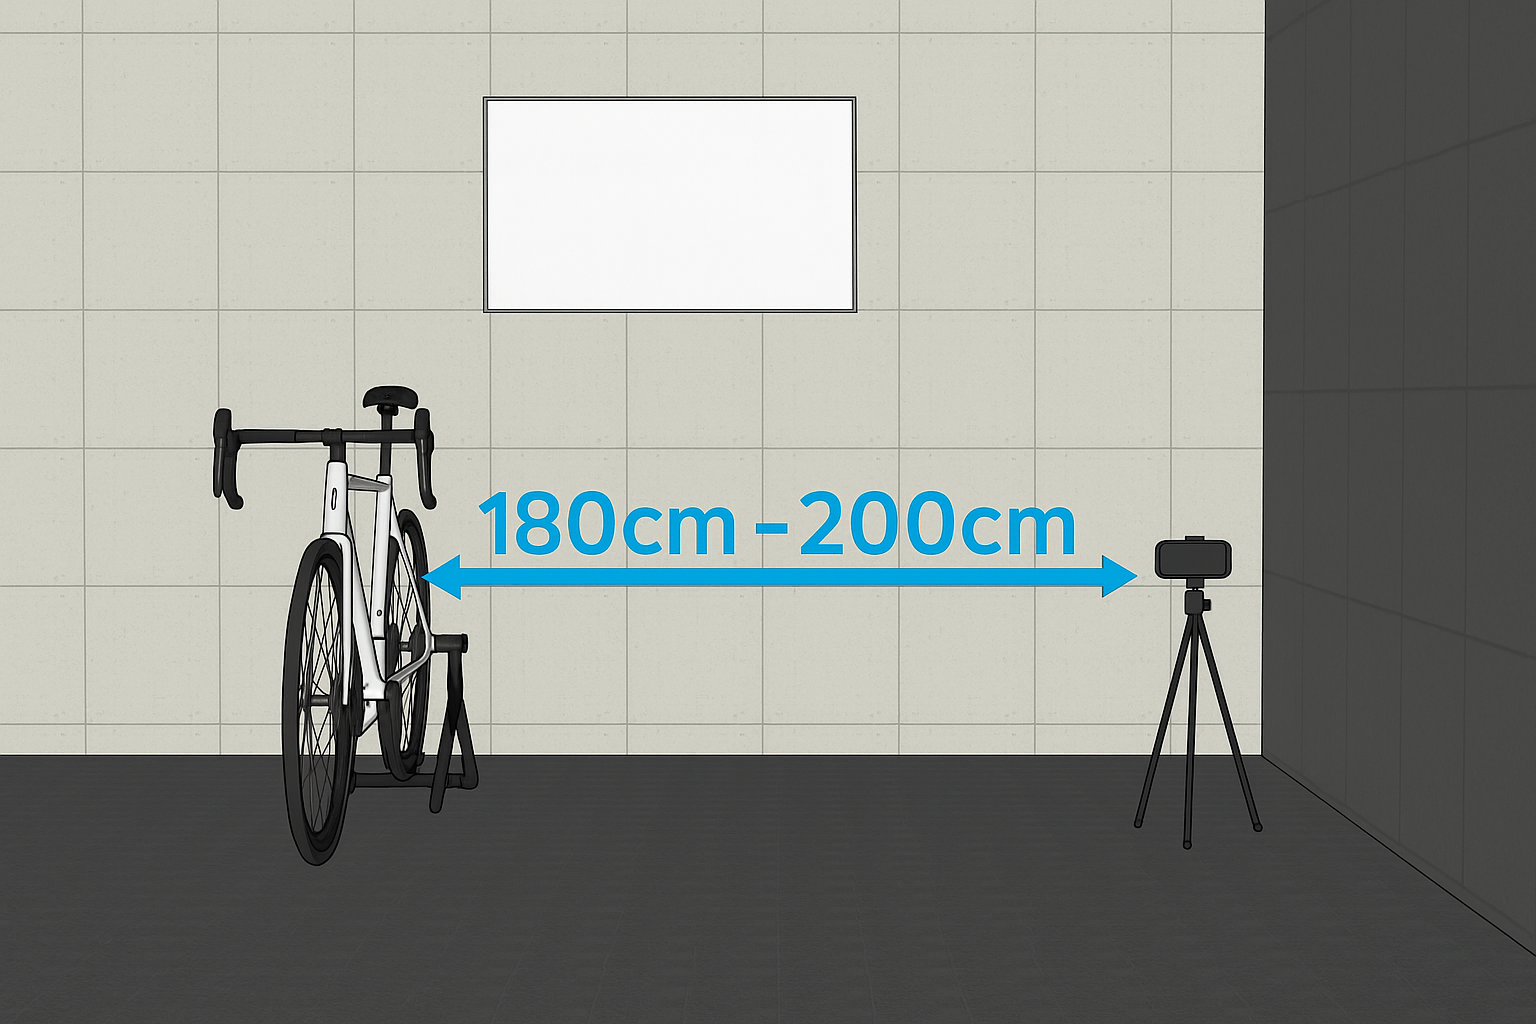
STEP #2 - Set the Right Camera Distance
Position the camera approximately 180cm – 200cm meters (6–7 feet) away from your bike. This distance ensures that your entire body, bike, and pedal stroke are clearly visible in the frame. Avoid setting the camera too close, as it may crop out important movement details, or too far, which could reduce video clarity. A clear, side-on view is crucial for the best analysis.
STEP #3 - Adjust the Camera Height
For the most accurate perspective, place the camera at chest height when standing. This angle provides the best side-on view of your bike position without distortion. Avoid placing the camera too high (which can obscure leg movement) or too low (which can alter the perspective of your position). Keeping it level with your chest ensures a true-to-life representation of your fit.
STEP #4 - Capture The Right Footage
Once the camera is in position, start recording while pedaling naturally. Make sure to complete at least 10 full pedal strokes at a steady cadence to give us enough footage to analyze your movement patterns. It is absolutely critical that your bike is positioned 100% side-on to the camera. We should only see one side of your body—one arm, one shoulder, and one leg. If both arms or shoulders are visible, the angle is off, and the results will not be as accurate. This precise positioning ensures the best possible fit analysis. Once you have a properly framed video, you can upload it into your fit report for review.
By following these steps, you’ll ensure we receive clear and accurate footage, allowing us to provide the best virtual bike fit possible!